Instructions for PrestaShop 1.7 and 9.x module: "Autopay online payments"Pobierz
Basic Information
Autopay online payments is a payment module that enables cashless transactions in a store based on the PrestaShop 1.7 and 8.x platform.
Main Features
The key features of the module include:
- support for 99% of payment methods available on the market;
- simple activation in just 15 minutes;
- payments embedded in the store's purchase path;
- ability to change the order of displayed payment channels;
- option to decide which payment methods are visible and available to the customer – you can enable or disable a specific channel at any time;
- availability of Pay by link (PBL) – transfer details are generated automatically, and the customer cannot edit them, eliminating the risk of errors during the transaction;
- availability of Google Pay and Apple Pay – simple and fast payments using a saved card;
- card payment – the customer fills in the necessary card details;
- BLIK 0 payment – the customer stays on the shopping cart page of the online store and enters a 6-digit code generated earlier in the bank's mobile app;
- integration with Alior's installment payment system – especially useful for stores selling higher-priced items;
- option to enable deferred payments;
- multi-currency payments: EUR, GBP, USD;
- ability to make purchases without registration (as a guest);
- email notification system informing about transaction status changes;
- two operating modes: test and production;
- payment status information is immediately communicated to the seller as well;
- support for multiple stores.
Requirements
- Minimum PrestaShop version: 1.7
- PHP version compliant with the requirements of the respective store version
Activating Payments in the PrestaShop Admin Panel
Thanks to the integration of Autopay Online Payments and PrestaShop – you can activate our service directly in your admin panel or download and install it yourself.
Follow these steps:
- Log in to your PrestaShop admin panel.
- Click Modules > Payments and search for "Autopay".
- After finding the payment module, click Enable.
- To complete the activation and move to Configuration – register with the Autopay system and go through the verification process.
Once Autopay verification is successful, online payments will be activated in your PrestaShop panel, and you can configure them as needed.
Plugin Installation
-
Download the latest plugin version with the .zip extension by clicking here.
-
Go to http(s)://store_domain.com/admin_directory_name and log in to your admin account using your login and password.

- After logging in, go to Modules > Modules and Services (or Module Manager – depending on the store version).
- Click Add new module (visible in the top right corner) to upload the file package you downloaded in the previous step;

(After clicking the button, a window will appear allowing you to select a file from your computer.)
- Click Upload module.
Once the installation is complete, the system will automatically take you to the module's Configuration page.
Configuration
Store Configuration
- Log in using your admin account at the address:
http(s)://store_domain.com/admin_directory_name

- Go to Preferences ➝ Traffic, find Friendly URL and enable it by clicking Yes.

Module Configuration
- Go to Modules > Modules and Services (or Module Manager – depending on the store version) and select the category: Payment (or search for the module using the search bar).
- Click the Configure button in the block named Autopay Payments and fill in all the data (you will receive this from us). If the Configure button is not visible – reinstall the module.
- To obtain the Partner service identifier and Configuration key (hash) from us – send us the URLs for communication between the store and the payment gateway:
- http(s)://store_domain.com/module/bluepayment/back
- http(s)://store_domain.com/module/bluepayment/status
Settings
Authentication Tab
- Test Mode – switching the gateway to test mode allows you to verify the module's operation without actually paying for the order (in test mode, no charges are applied to the order).
- Service Identifier – consists of numbers only and is different for each store (you will obtain this from Autopay).
- Configuration Key (hash) – used to verify communication with the payment gateway. It contains numbers and lowercase letters. It should not be publicly shared (you will obtain this from Autopay).
If you have more than one currency in your store, the Service Identifier and Configuration Key (hash) fields will be duplicated so they can be assigned to each currency.
Payments Tab
- Display payment methods in the store – when enabled, the customer will see all available payment methods (e.g., BLIK, online transfer, etc.) directly on the store page. This makes it easier and faster to choose the preferred method.
- Module name in the store – how the payment method will be named when selecting the bank through which the customer will pay.
- Payment channel list – a list of available gateways is displayed, allowing the arrangement of banks via drag-and-drop.
- Payment redirection settings – this allows you to choose whether the payment will occur without leaving the store (set to enabled) or redirect the customer to the Autopay payment gateway page (set to disabled).
- Payment statuses:
- Payment started – store order status – set immediately after payment is initiated.
- Payment confirmed – store order status – set after payment confirmation.
- Payment failed – status set when the payment fails or is not completed within a set time (this time is defined for each store individually).
Analytics Tab
We have expanded the analytical capabilities of the module by connecting additional events in Google Analytics. To use them, add your Google account ID in the field below.
Thanks to the integration, you can understand the exact customer purchase journey and analyze their behavior at various stages of the process, allowing you to take actions to optimize store performance.

Logs
In case of errors during transaction processing, the relevant information is recorded to help quickly identify the cause of the problem.
To view logs – go to Advanced > Logs and apply the following filters:
- BM Message
Orders
In the order view, in the Order section, entries are added regarding the transaction process.
Transactions and Invoices
These are generated automatically depending on the transaction status settings.
Email Notifications
Payment status change notifications are sent depending on the configuration of the respective status. If you want notifications to be sent – check the option Send an email to the client when the order status changes (the appropriate template must also be selected).
Payment Channel Appearance
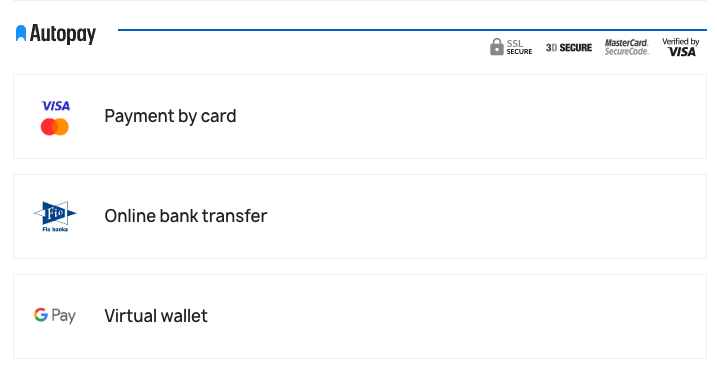
- Payment methods supported by Autopay are grouped and presented in a modern, aesthetically pleasing way:

- Selecting a payment method like online transfer or virtual wallet is very simple, thanks to the introduction of a convenient window:

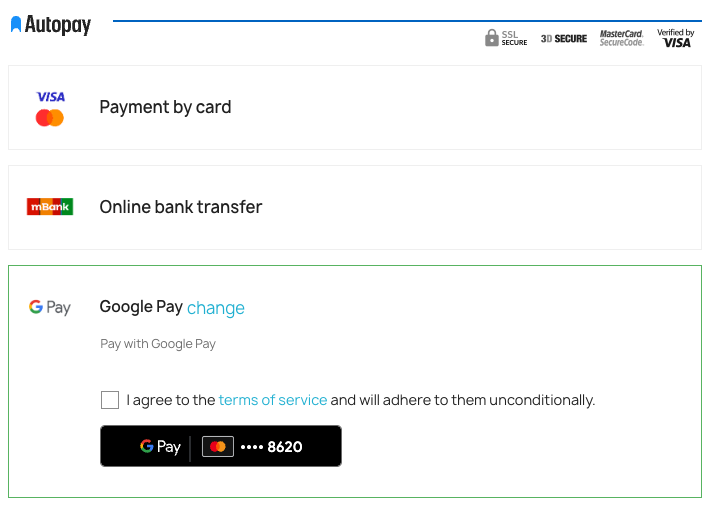
- Google Pay and Apple Pay payment methods are grouped under the Virtual Wallet option:

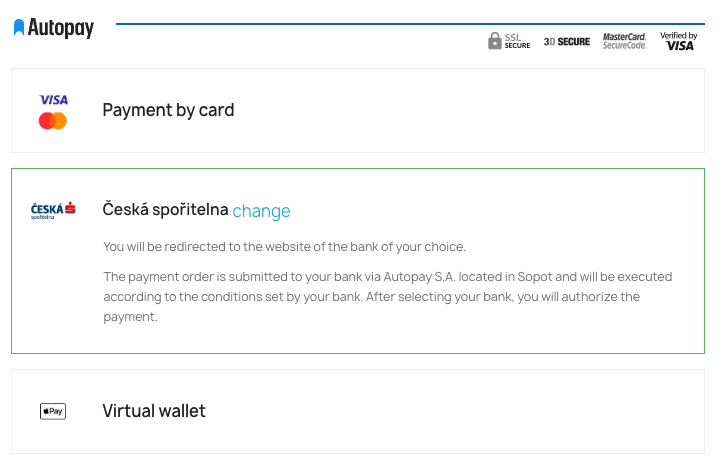
- You can easily change the selected payment method. The new design also provides easy access to important information about redirections and terms:

Update
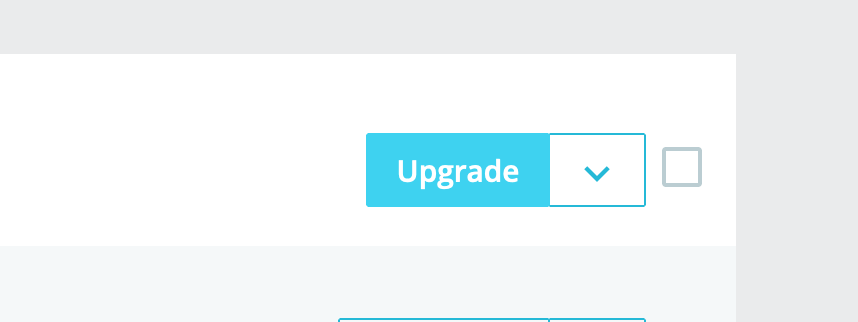
- To update – Simply click Upgrade.

- Then follow the instructions described in the Plugin Installation section.
Uninstallation
To uninstall the module – select Uninstall.

Najczęściej zadawane pytania
Sprawdź jakie pytania dotyczące wtyczki PrestaShop 1.7 pojawiają się najczęściej
Pytania ogólne
Nie znalazłeś odpowiedzi na swoje pytanie? Sprawdź naszą bazę wiedzy, gdzie zebraliśmy wszystkie pytania dotyczące naszych usług.